Automatic monitoring for factory clones
The factory-clone pattern can be advantageous for minimizing gas costs. However, since each clone gets deployed to a new address, it may be a challenge to efficiently track and monitor each of these contracts.
This guide shows how to use Defender to monitor a factory contract as well as the clone contracts created by it. Monitor automation is achieved through the following structure of Defender modules:
-
A Monitor watches for successful event emitted by the factory contract that creates a clone. If detected, it triggers an Action and passes along information about the transaction.
-
The Action makes use of the
defender-sdkto add the address of the newly created contract to the address book for easier monitoring. -
Aditionally, the Action uses the
defender-sdkto add the clone address to the list of addresses watched by a Monitor.
In this case, the contract ABI can be pre-supplied since clone contracts will have identical ABIs. Alternatively, you may be able to dynamically retrieve the ABI from a verified contract at a given address using Etherscan’s API.
Generate API Key
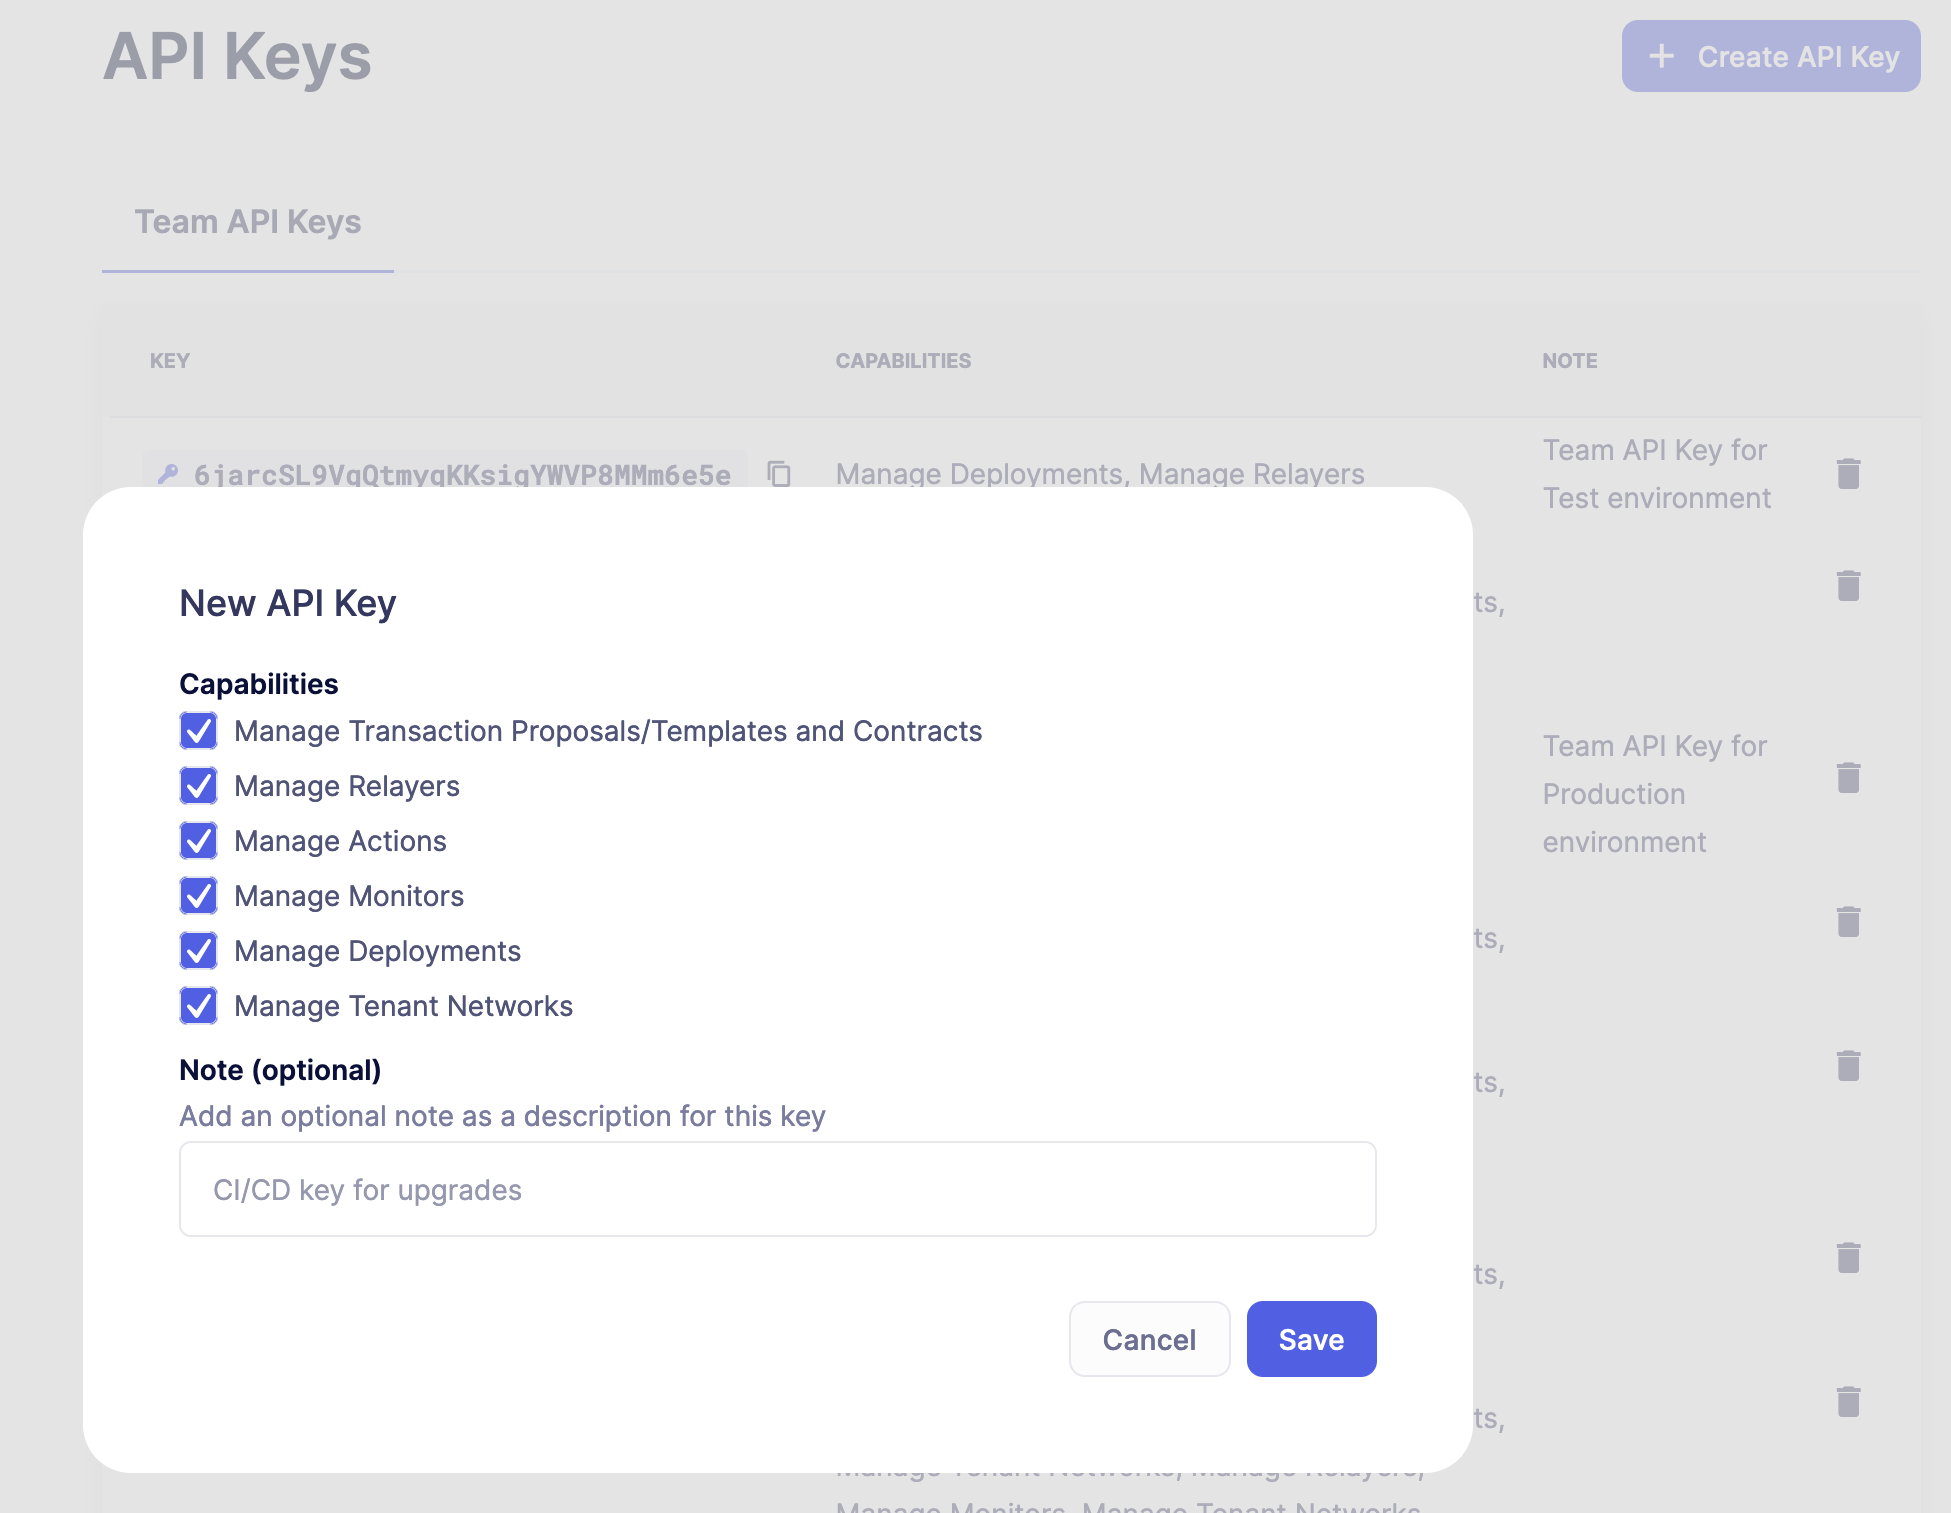
To programmatically add a contract to the address book, the sdk requires credentials in the form of an API key and secret. Create and copy the credentials in the API keys page.
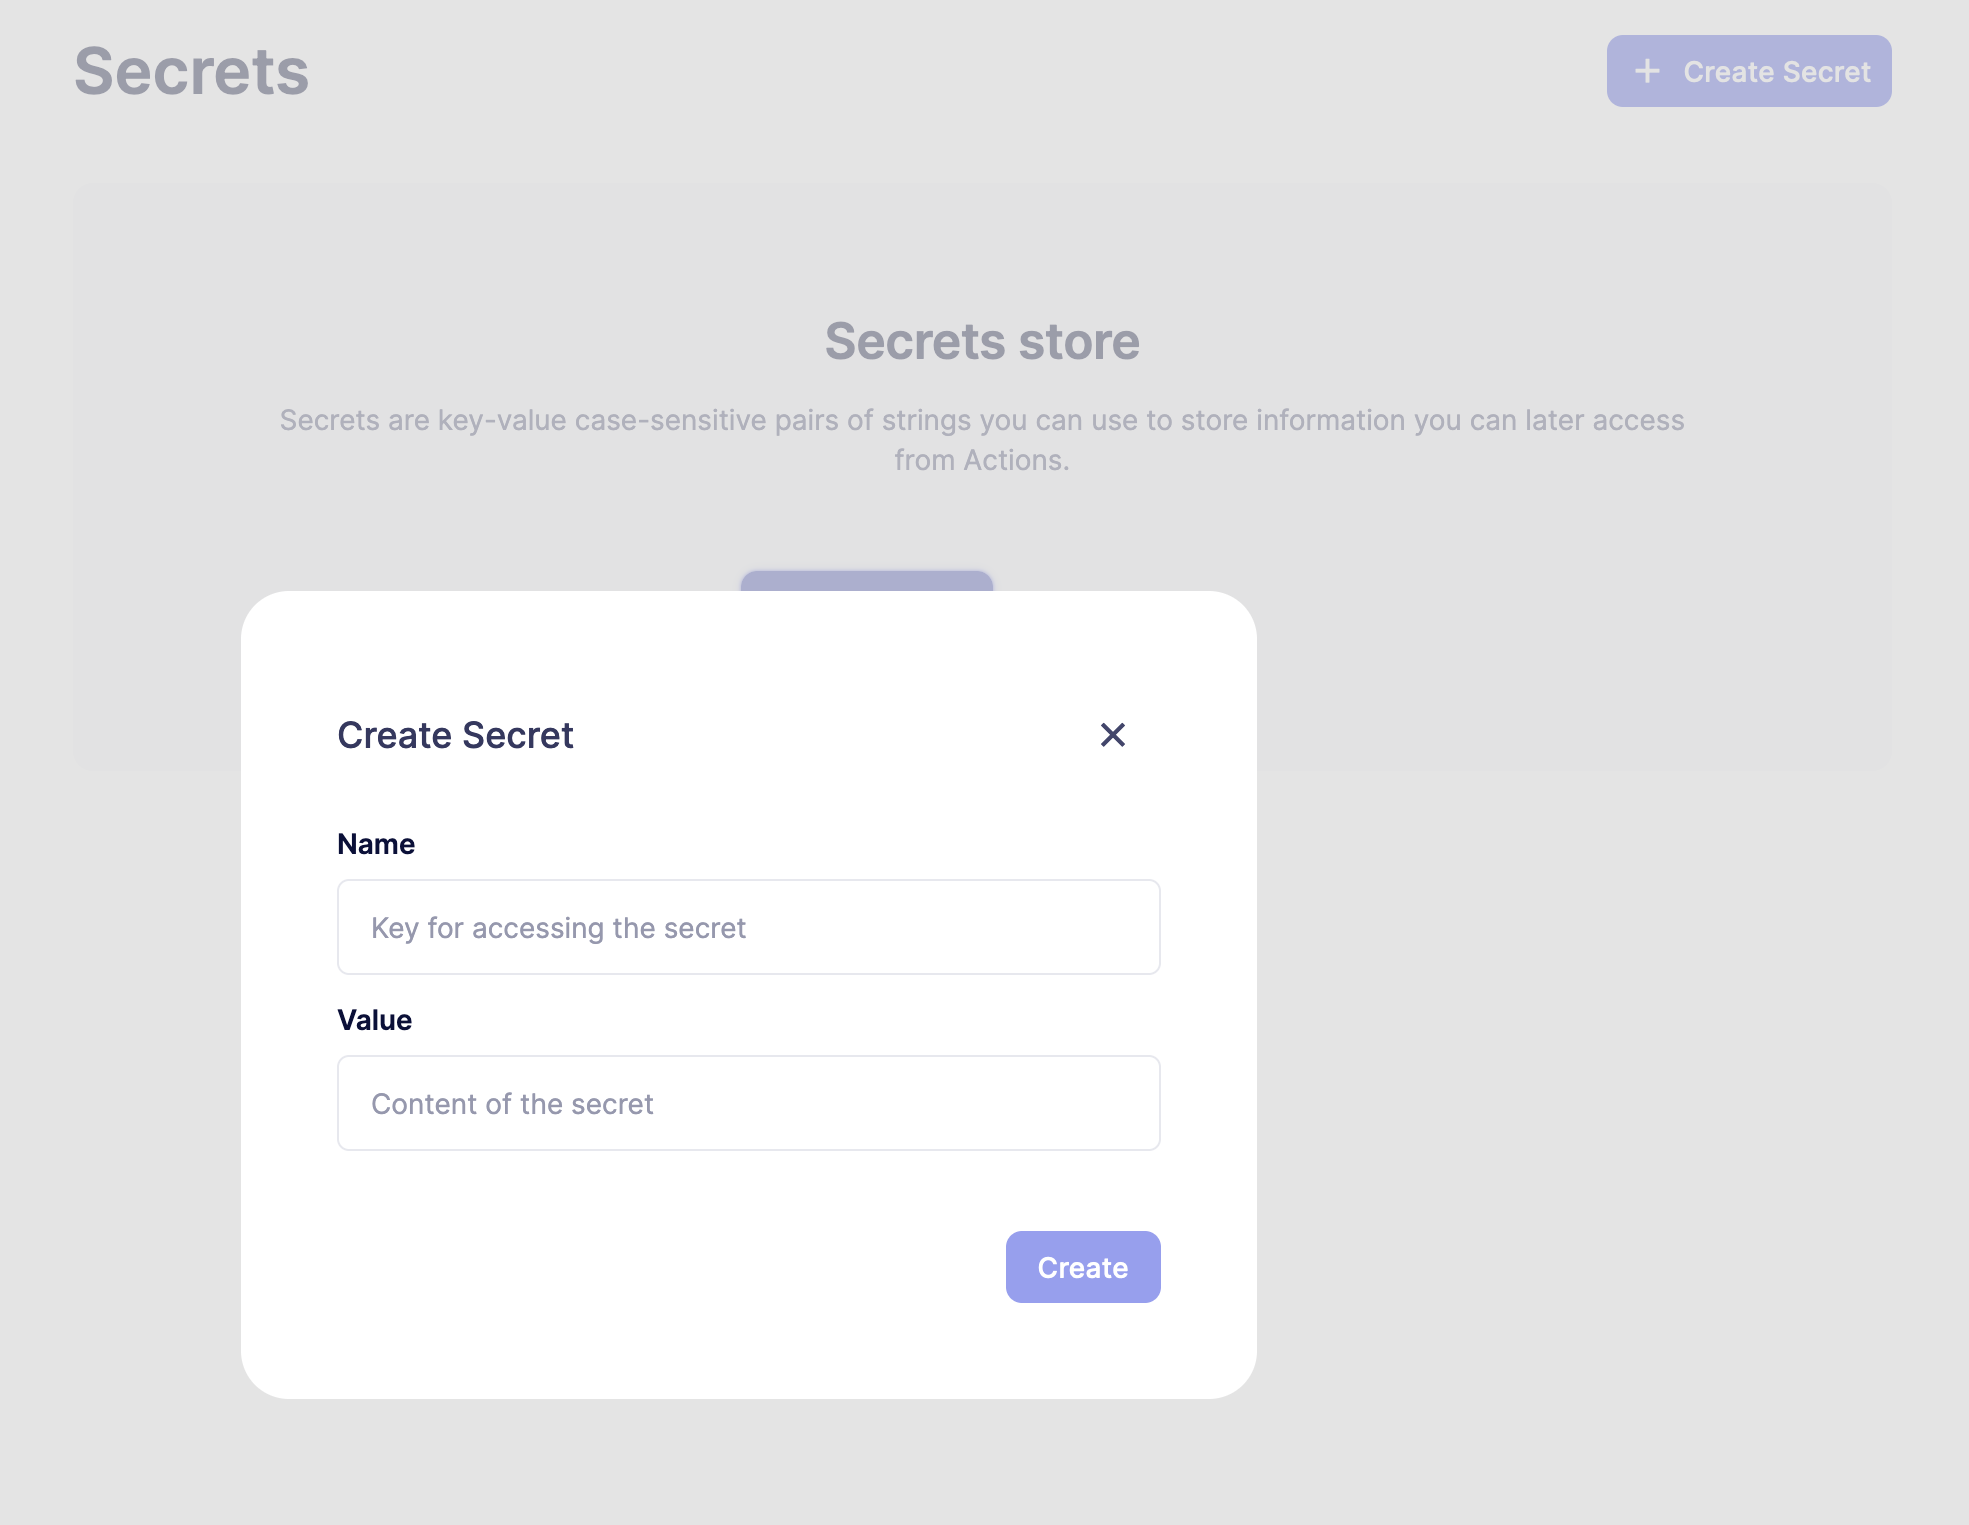
Now, navigate to the Secrets page in Defender and create a new secret with the name API_KEY and paste in the API key. Create another secret with the name API_SECRET and paste in the API secret. These secrets will be used by the Action securely.
Create the Action
Navigate to the Action creation page, enter a name, and select Webhook as trigger. Then, paste the following Action code and save it:
const { Defender } = require('@openzeppelin/defender-sdk');

exports.handler = async function (event) {
  const creds = {
    apiKey: event.secrets.API_KEY,
    apiSecret: event.secrets.API_SECRET,
  }
  const client = new Defender(creds);

  const payload = event.request.body
  const matchReasons = payload.matchReasons
  const newCloneAddress = matchReasons[0].params._clone
  const newCloneAbi = `[
    {
      "anonymous": false,
      "inputs": [
        {
          "indexed": false,
          "internalType": "uint256",
          "name": "value",
          "type": "uint256"
        }
      ],
      "name": "ValueChanged",
      "type": "event"
    },
    {
      "inputs": [
        {
          "internalType": "uint256",
          "name": "value",
          "type": "uint256"
        }
      ],
      "name": "initialize",
      "outputs": [],
      "stateMutability": "nonpayable",
      "type": "function"
    },
    {
      "inputs": [],
      "name": "retrieve",
      "outputs": [
        {
          "internalType": "uint256",
          "name": "",
          "type": "uint256"
        }
      ],
      "stateMutability": "view",
      "type": "function"
    },
    {
      "inputs": [
        {
          "internalType": "uint256",
          "name": "value",
          "type": "uint256"
        }
      ],
      "name": "store",
      "outputs": [],
      "stateMutability": "nonpayable",
      "type": "function"
    }
  ]`
  // Add new clone contract
  await client.proposal.addContract({
    network: 'sepolia',
    address: newCloneAddress,
    name: `Clone ${newCloneAddress}`,
    abi: newCloneAbi,
  })
}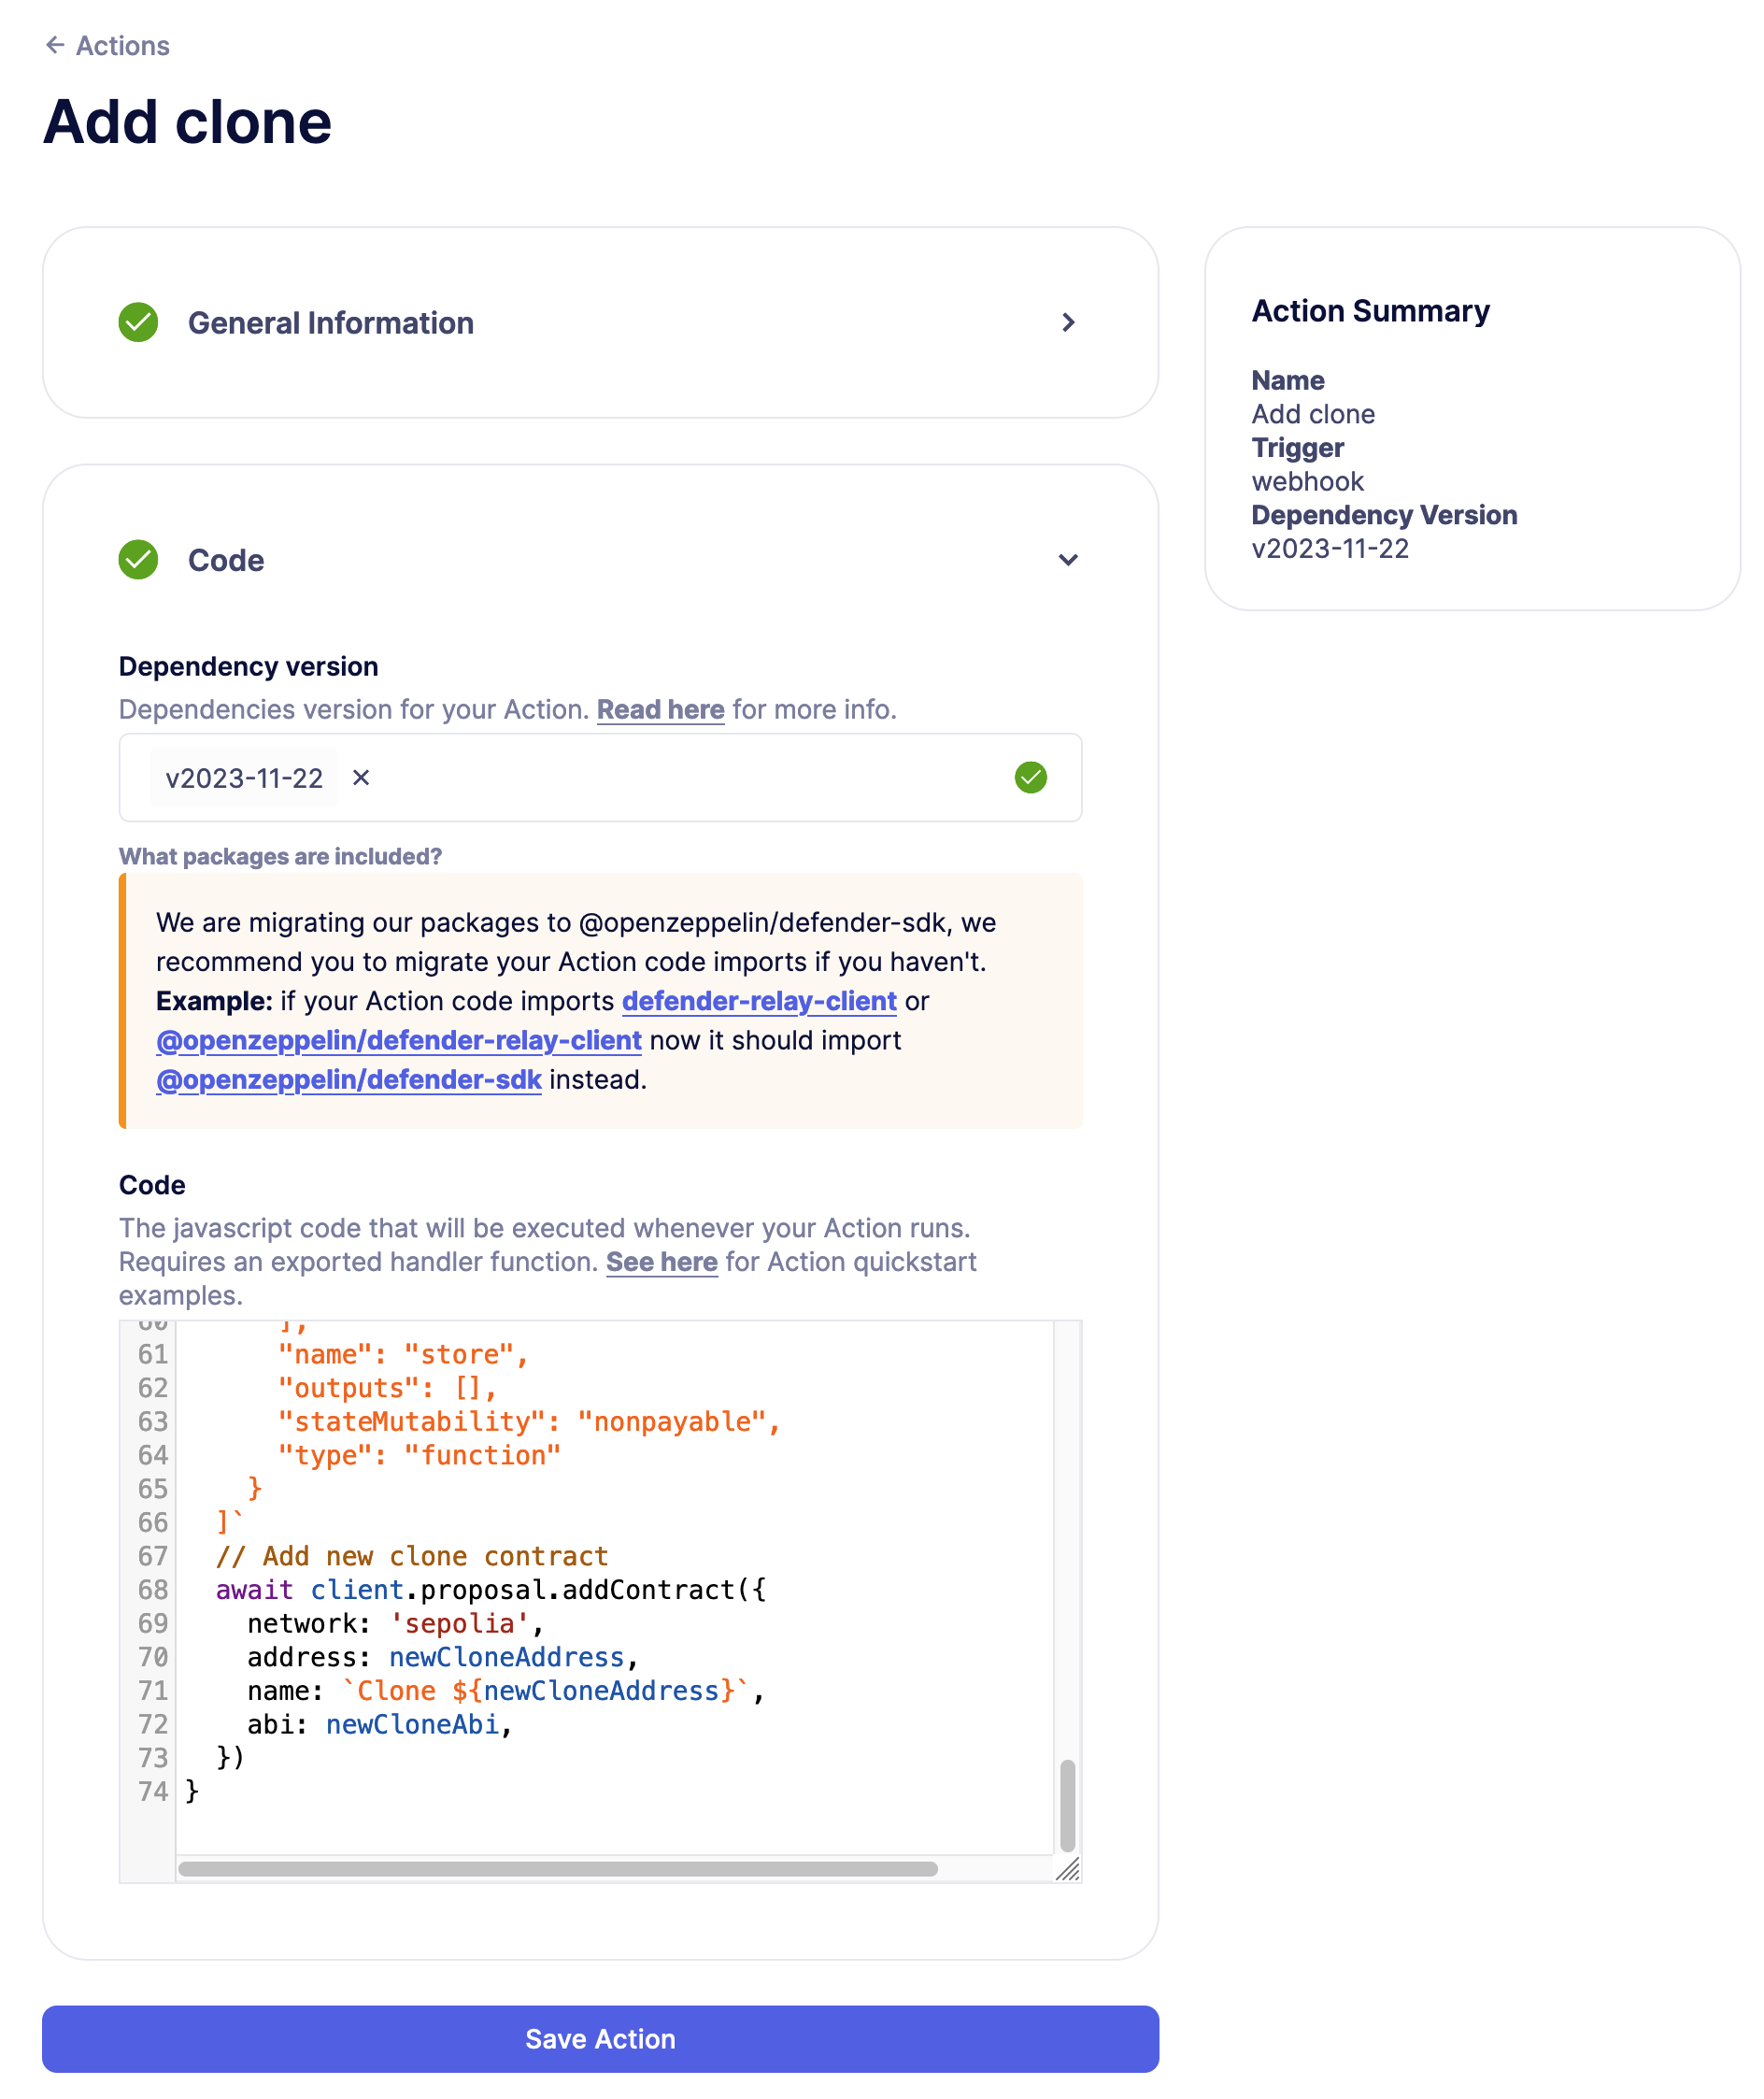
The Action is now ready to be triggered by a Monitor.
| Manually triggering this Action will be raise an error, since the Action relies on data supplied by a Monitor (such as the address of the newly deployed clone contract address). |
Create the Monitor
This Monitor will watch for an event emitted by the factory contract signaling that a new clone has been created. Navigate to the Monitor creation page, choose a name, risk category, and select the Factory contract (add the factory if it’s not already added).
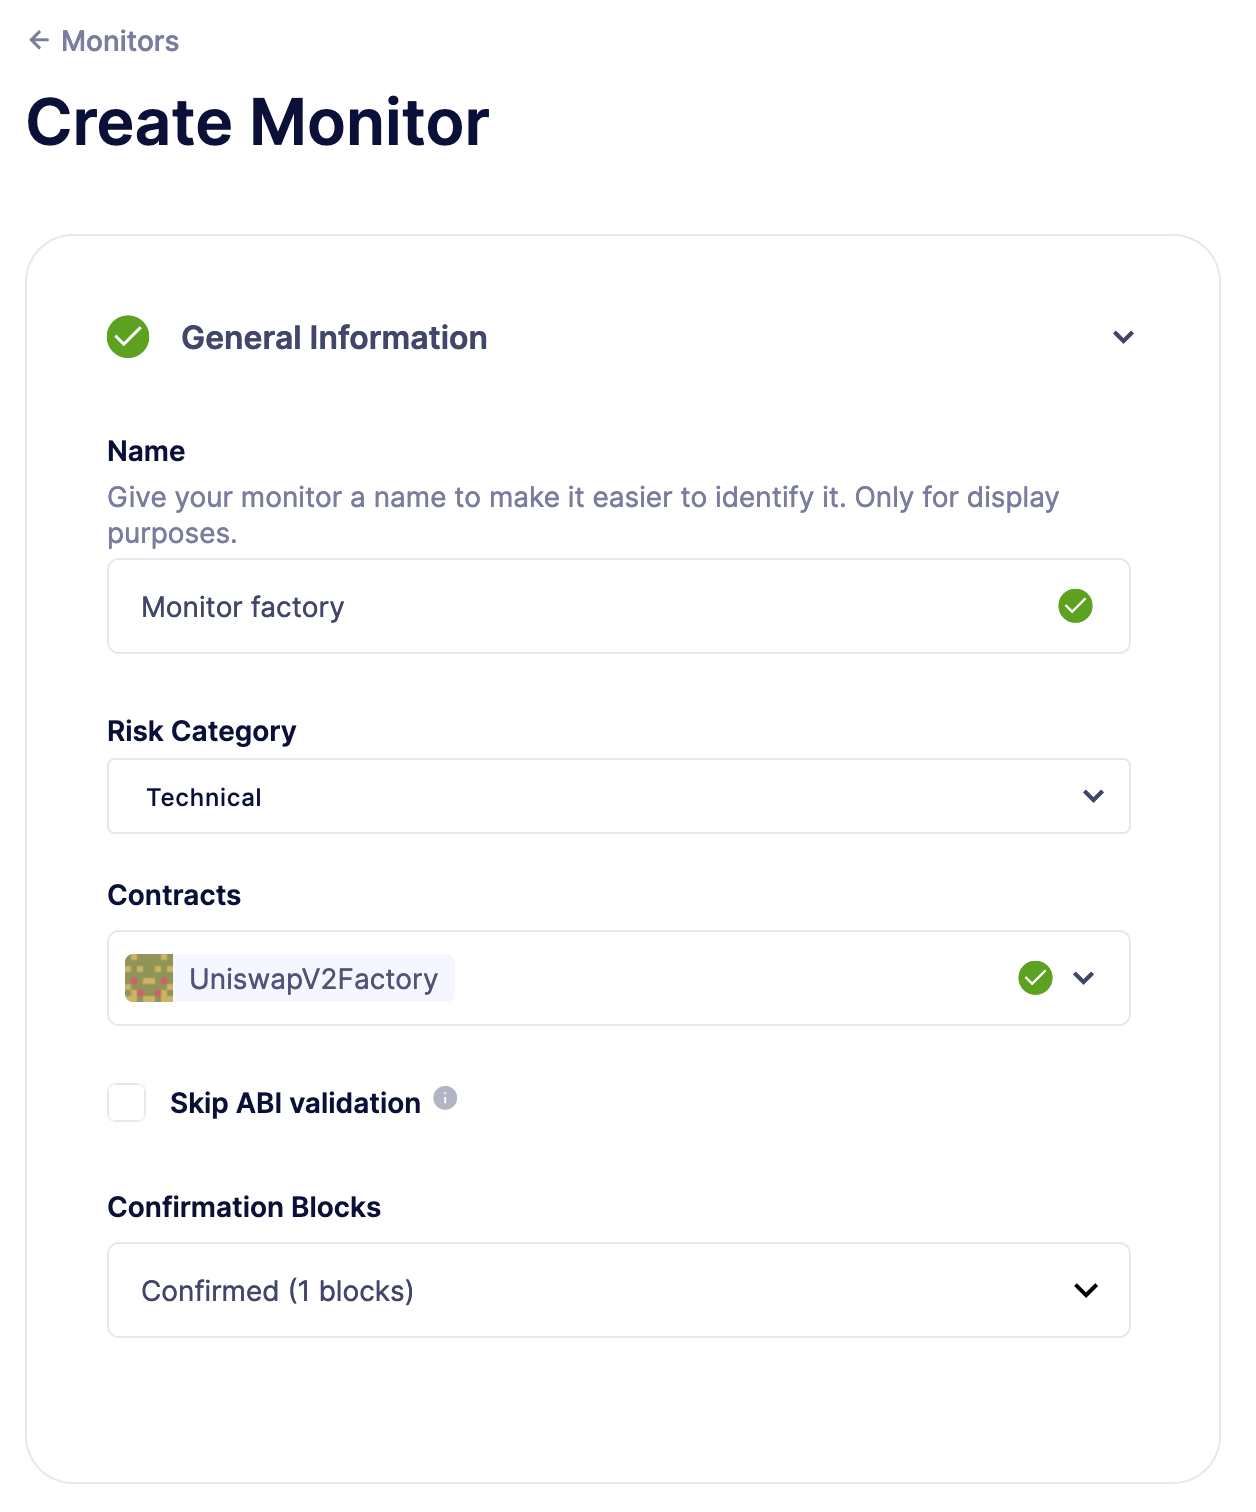
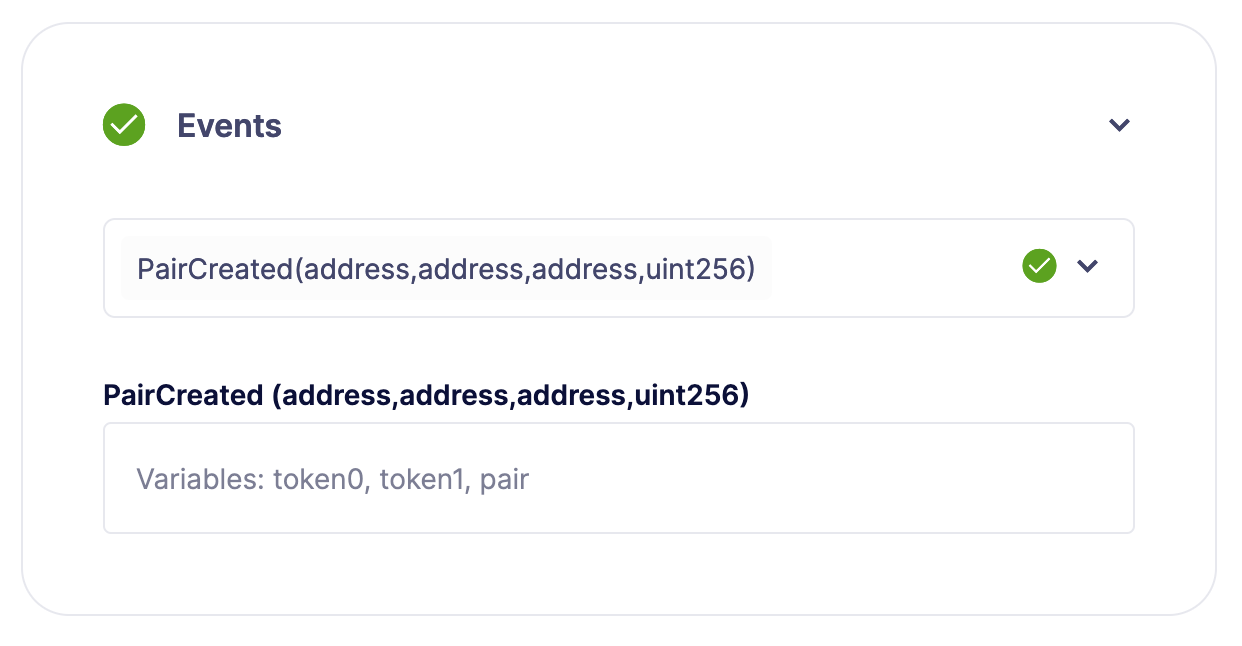
Leave Transaction Filters as it is, and continue to the Events tab. Here, select the event name for clone creation and leave the event parameters blank to catch all emitted events.
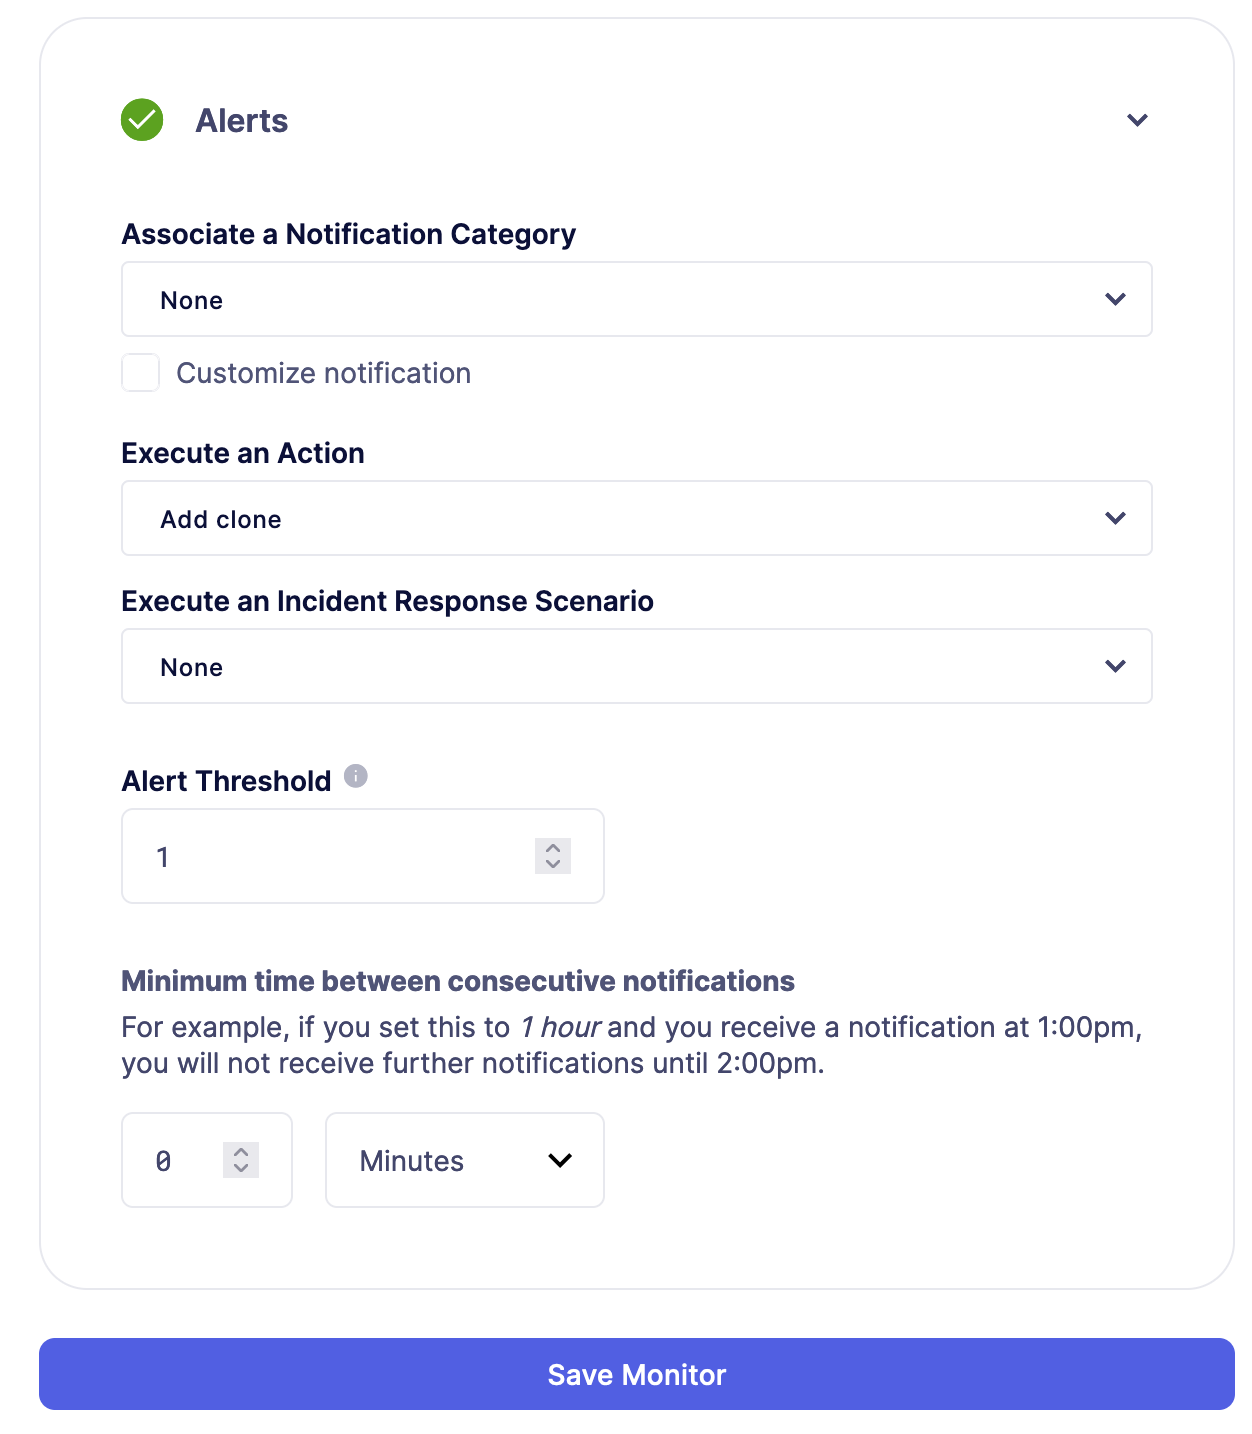
Lastly, open the Alerts section and select the Action created in the previous step within the Execute an Action dropdown. Feel free to add any other setting, like notifications, and save the Monitor.
As with any action, the triggering of this Monitor will be recorded in the Logs.
Test run
To test the set up, navigate to Transaction Proposals to manually create a clone through the factory. Select the factory contract, and call the function that creates a clone with any parameters needed.
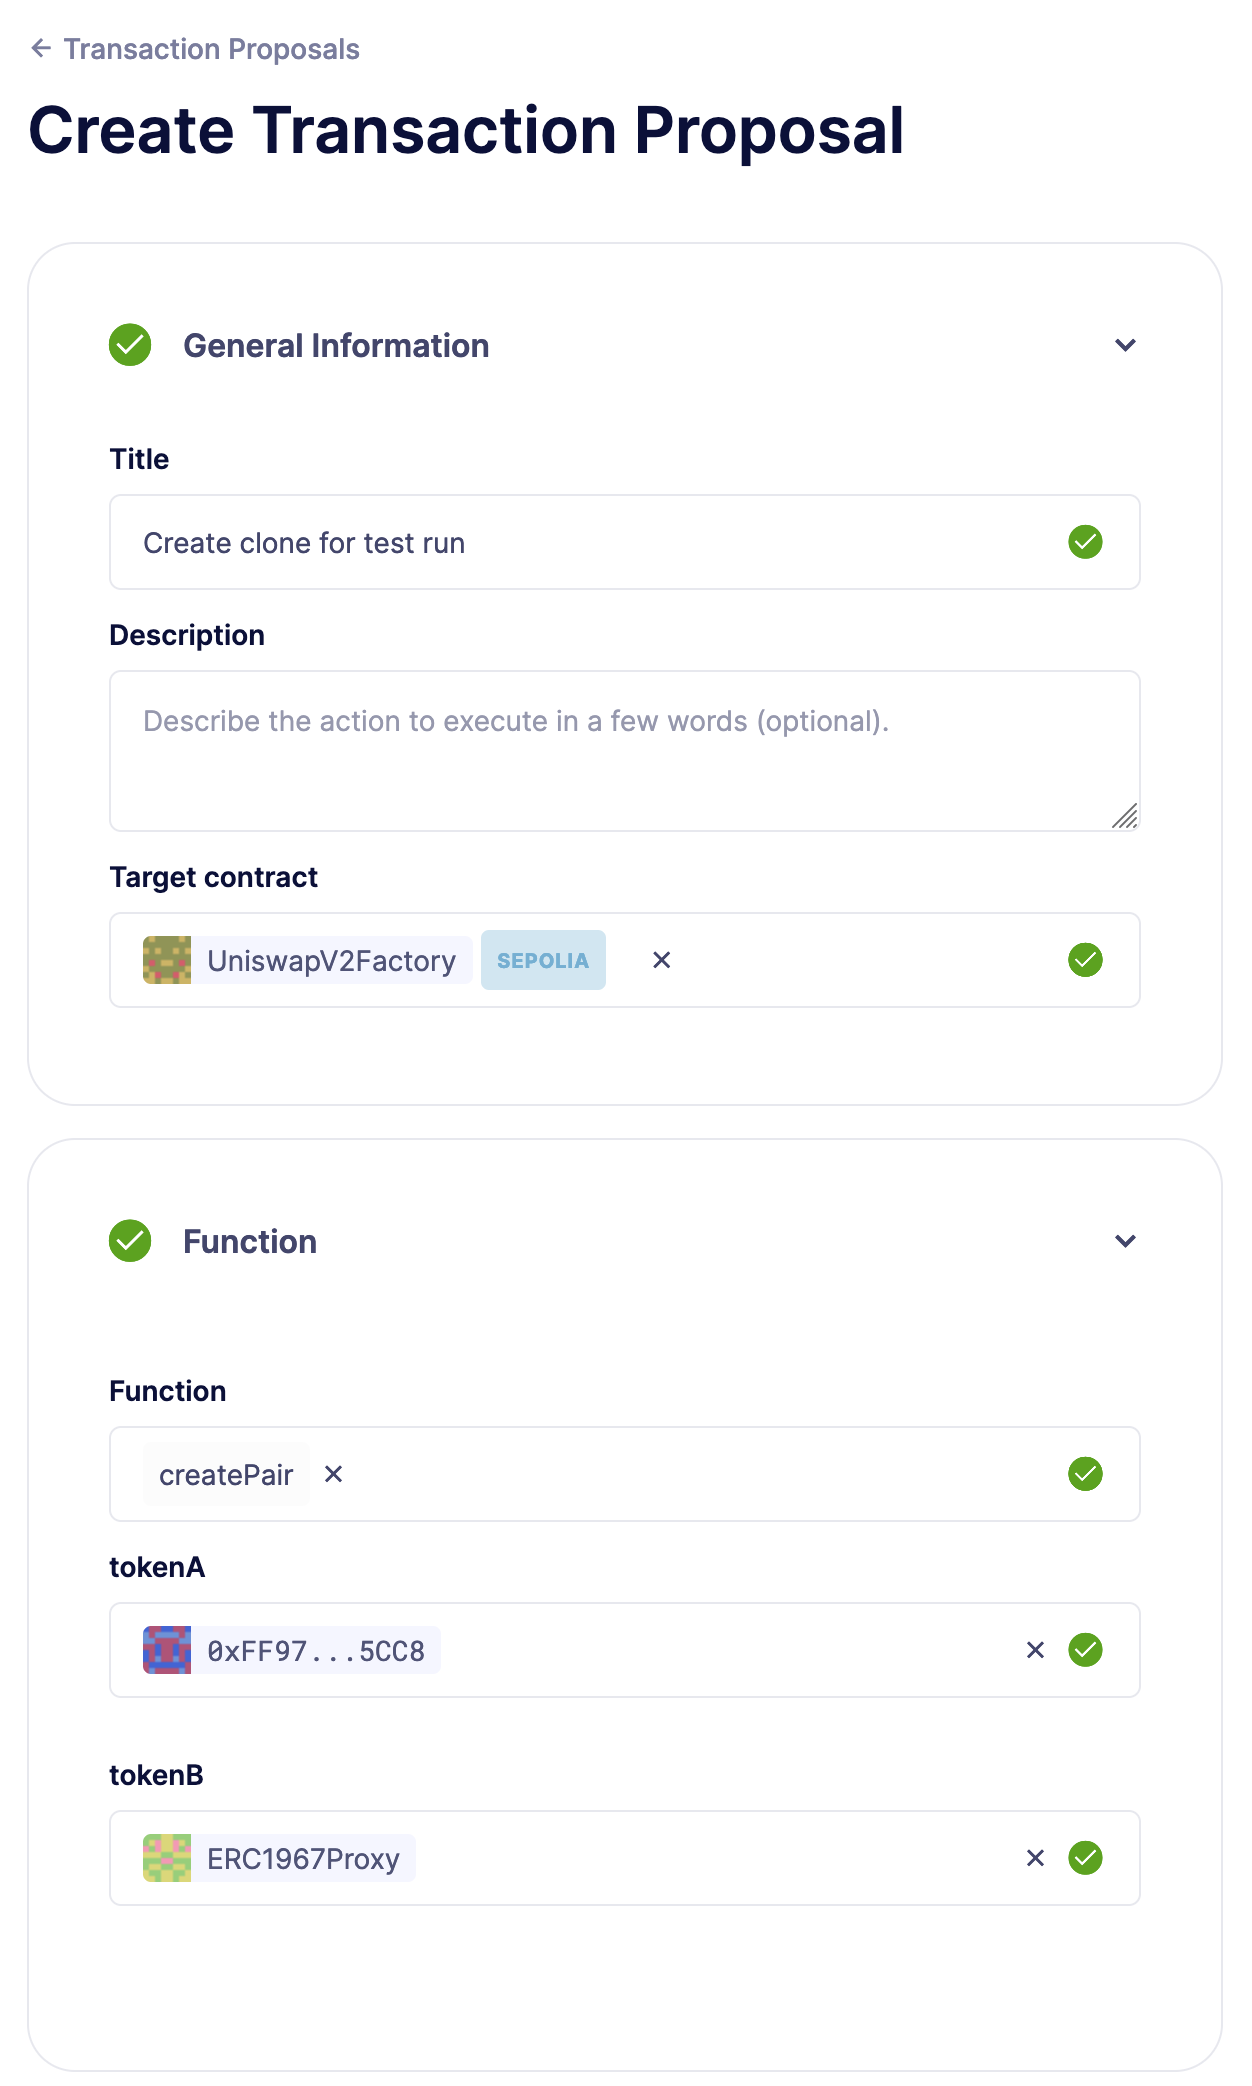
Then, execute this this transaction with your preferred approval process, like a Relayer or EOA wallet. Head over to run history of the Action to verify it was triggered by the Monitor, adding the clone contract address to Defender.

Create Monitor for clones
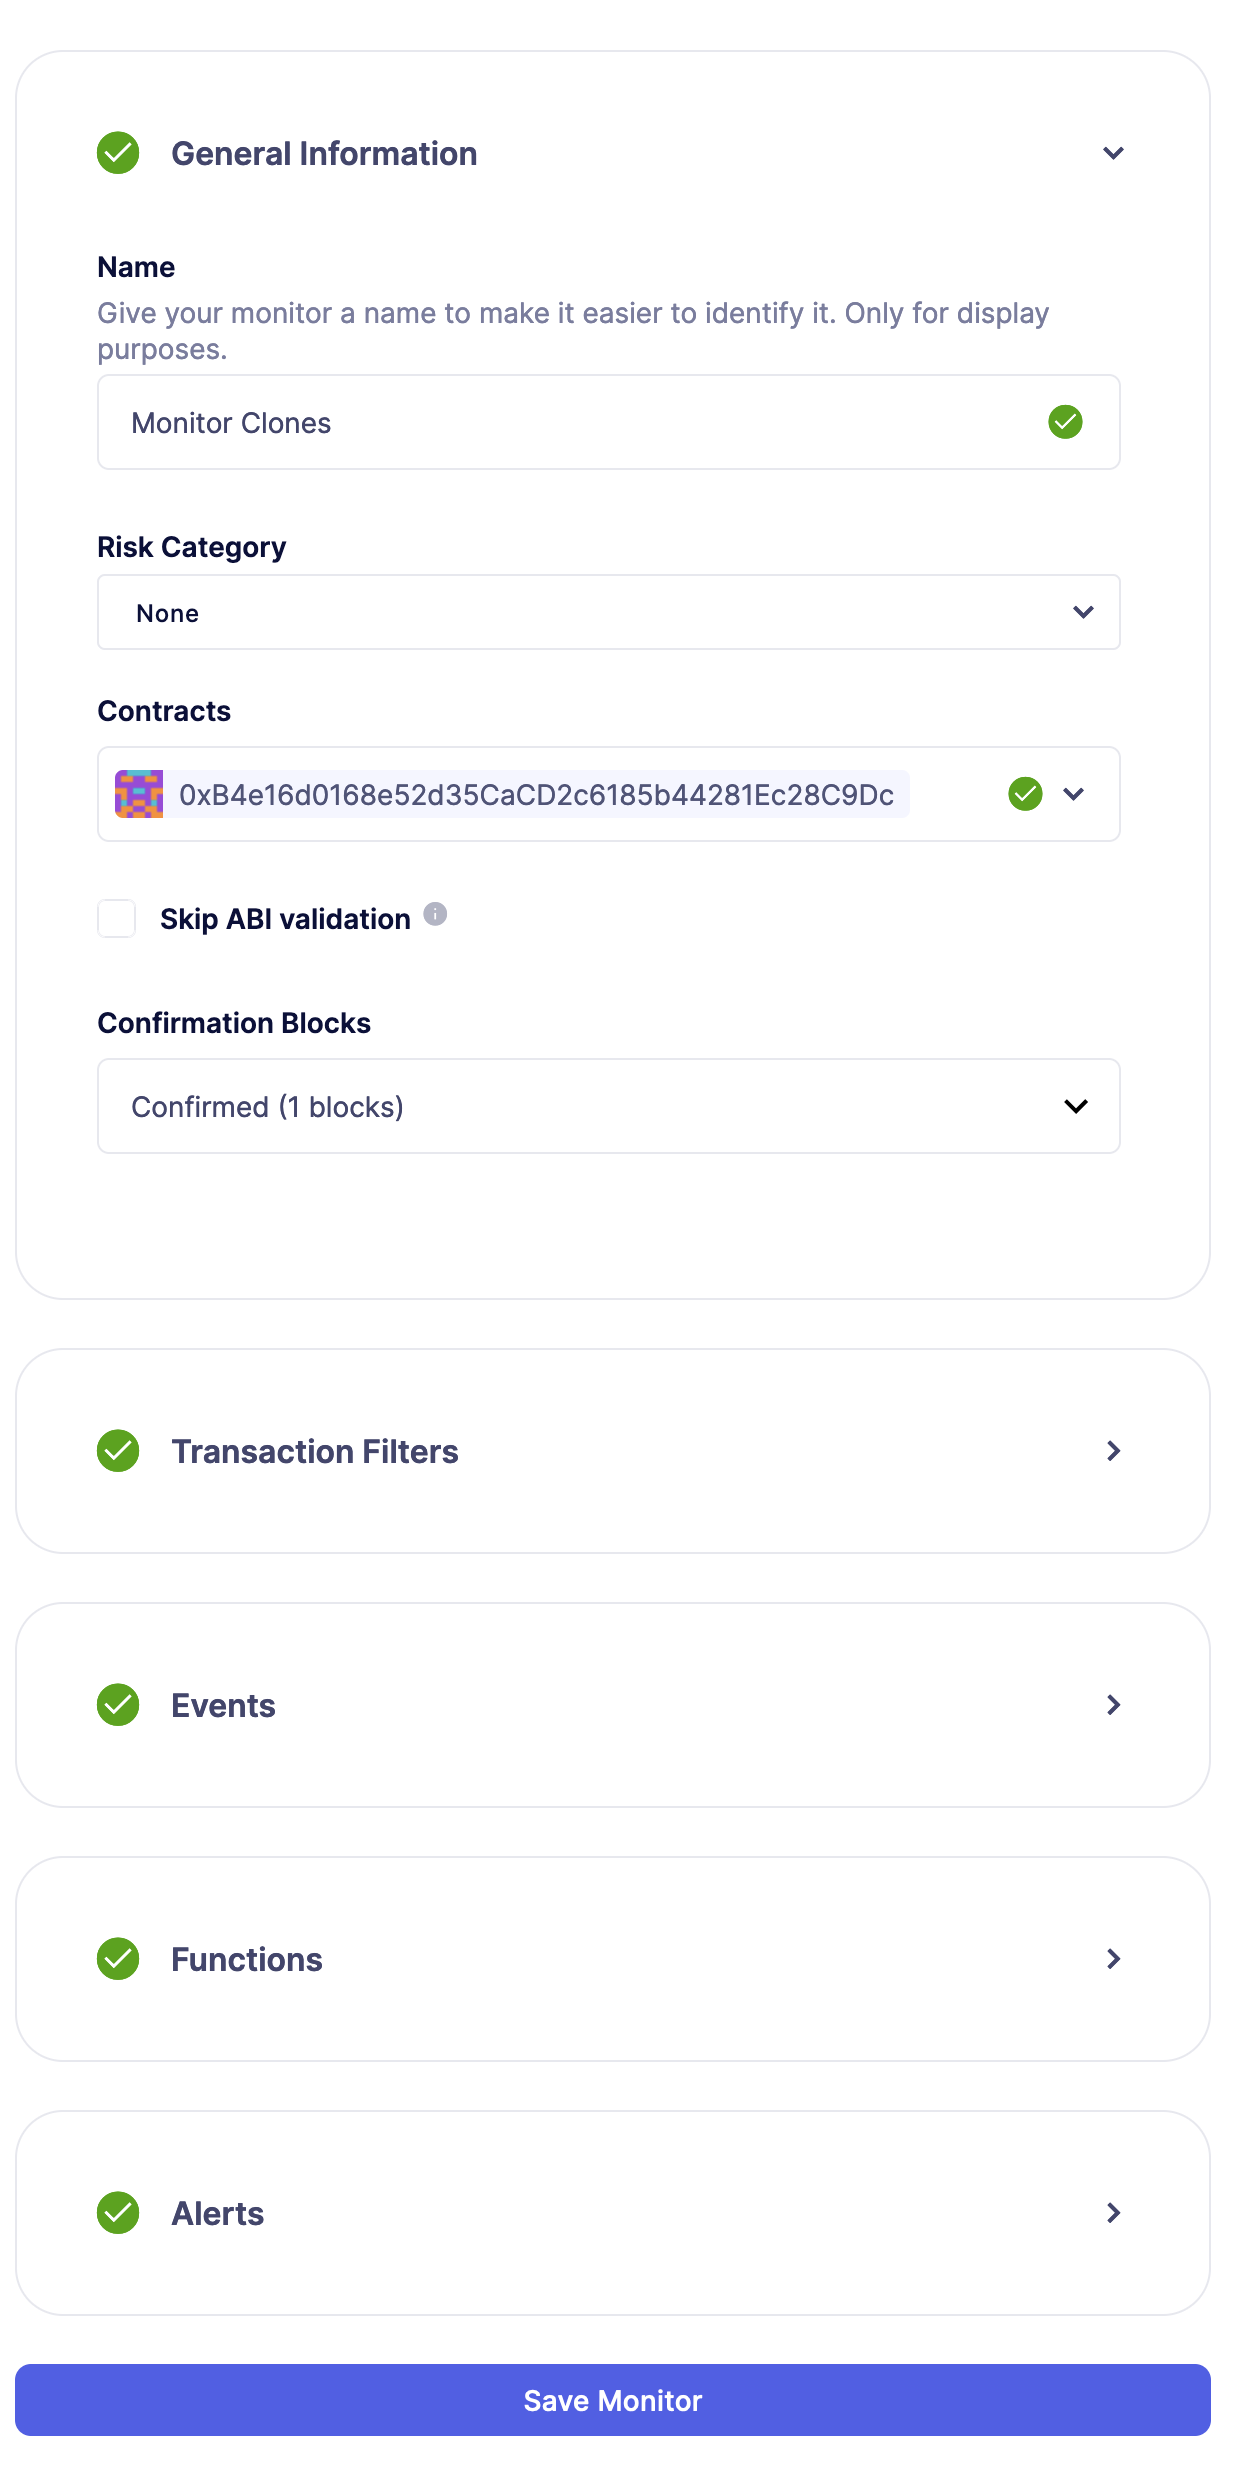
Now that you have a clone contract to serve as a template for all future clone contracts, it’s time to create a Monitor for them. Navigate to the Monitor creation page, choose a name, risk category, and select the clone contract.
Aditionally, feel free to add any other filters for transactions, events, and functions, or notifications. Save the Monitor and observe the logs/notifications to verify that the Monitor is working as expected.
Automatically add clones to Monitor
With the last Monitor, you can update the Action to add any newly created contract to the list of addresses being monitored by the Monitor. Update the Action code with the following code, replacing monitorId with the ID of the Monitor created in the previous step:
const { Defender } = require('@openzeppelin/defender-sdk');

exports.handler = async function (event) {
  const creds = {
    apiKey: event.secrets.API_KEY,
    apiSecret: event.secrets.API_SECRET,
  }
  const client = new Defender(creds);

  const payload = event.request.body
  const matchReasons = payload.matchReasons
  const newCloneAddress = matchReasons[0].params._clone
  const newCloneAbi = `[
    {
      "anonymous": false,
      "inputs": [
        {
          "indexed": false,
          "internalType": "uint256",
          "name": "value",
          "type": "uint256"
        }
      ],
      "name": "ValueChanged",
      "type": "event"
    },
    {
      "inputs": [
        {
          "internalType": "uint256",
          "name": "value",
          "type": "uint256"
        }
      ],
      "name": "initialize",
      "outputs": [],
      "stateMutability": "nonpayable",
      "type": "function"
    },
    {
      "inputs": [],
      "name": "retrieve",
      "outputs": [
        {
          "internalType": "uint256",
          "name": "",
          "type": "uint256"
        }
      ],
      "stateMutability": "view",
      "type": "function"
    },
    {
      "inputs": [
        {
          "internalType": "uint256",
          "name": "value",
          "type": "uint256"
        }
      ],
      "name": "store",
      "outputs": [],
      "stateMutability": "nonpayable",
      "type": "function"
    }
  ]`
  // Add new clone contract
  await client.proposal.addContract({
    network: 'sepolia',
    address: newCloneAddress,
    name: `Clone ${newCloneAddress}`,
    abi: newCloneAbi,
  })

  // Add clone contract to Monitor
  const monitorId = 'REPLACE'
  const monitor = await client.monitor.get(monitorId)
  const subscribedAddresses = monitor.addressRules[0].addresses
  subscribedAddresses.push(newCloneAddress)
  await client.action.update(monitorId, { addresses: subscribedAddresses })
}
Now when the Action runs, not only will it add the contract to Defender, it will also add it to the Monitor.
To verify, execute another test run!